
Understanding the Process of Restoring Exterior Walls
A successful stucco repair project involves several steps that ensure long-lasting results. Homeowners often face the challenge of maintaining their home’s exterior, and addressing stucco damage is crucial. The process can seem daunting, but breaking it down step-by-step helps simplify it. This guide will help you understand what to expect during a stucco repair project. You will learn about preparation, execution, and finishing touches that contribute to a quality outcome.
Inspecting Damage Thoroughly
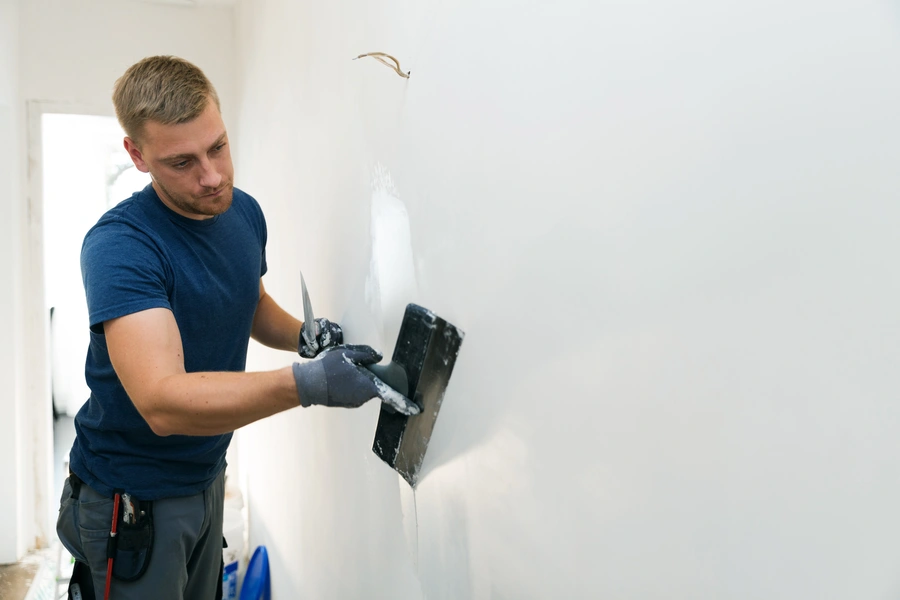
The first step in any repair project is assessment. Inspect your walls for visible cracks or holes. Identify areas where water may have penetrated. Such issues can weaken the structure over time. A detailed inspection will help determine the extent of the damage and inform the necessary repairs. Remember, catching problems early can save money in the long run.
Removing Damaged Material
After assessing the damage, the next step is to remove compromised material. Carefully chisel out loose or crumbling stucco. Ensure surrounding areas remain intact. During this phase, it’s important to replace materials that might worsen if left unattended. Proper removal sets the stage for effective application of new material.
Applying New Layers
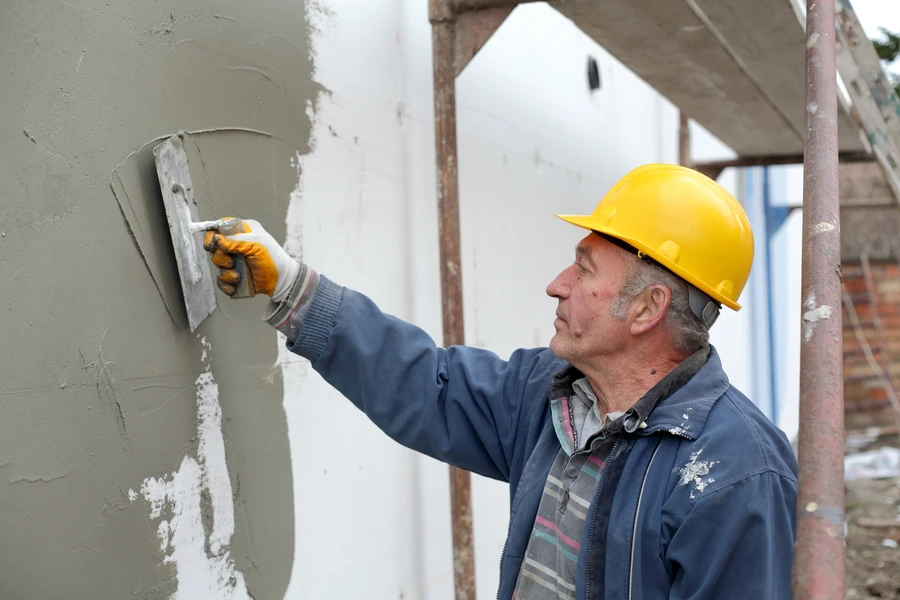
Once old materials are removed, it’s time to apply new layers. Mix fresh stucco according to manufacturer’s instructions. Apply a base coat evenly onto the prepped surface. Allow it to dry completely before adding subsequent layers. Depending on your desired finish, more than one layer may be necessary.
Smoothing the Surface
With new layers applied, smooth the surface using a trowel. This step ensures uniformity and aesthetic appeal. Pay close attention to edges and corners, as these areas are prone to imperfections. The goal is to create a seamless look that matches existing textures.
Curing for Long-Lasting Results
Proper curing of the stucco is vital for durability. Keep the surface moist by misting with water regularly for at least 48 hours. This process prevents cracking and enhances strength. Make sure environmental conditions favor drying without extreme temperatures or direct sunlight exposure.
Patching Color and Texture
If needed, match the color and texture of the repaired area with existing surfaces. Use paint or pigment additives designed specifically for stucco. Achieving a consistent appearance enhances curb appeal while ensuring repairs blend seamlessly into original structures.
Finishing Touches for Perfection
Finally, inspect your work once more after completion. Look for any missed spots or inconsistencies in texture or color. Address minor imperfections promptly. These final checks ensure that your stucco repair yields professional-grade results.
Expert Guidance for Your Project
Tackling stucco repair requires careful planning and execution. By following these steps, you can achieve high-quality outcomes for your home exterior projects. For expert assistance, contact George Sprinkler System Repair at (559) 213-5015. Based in Selma, CA, I offer specialized services tailored to your needs.